Sewing Skills - Binding a Sleeve Cuff - from Sewing Skills eBook for Members
© Angela Kane 2015 - All rights reserved
Members open and save the eBook
A Gathered or Pleated Sleeve with a Narrow Bound Cuff
Trim raw edge allowing for a ½" or ⅝" seam allowance.
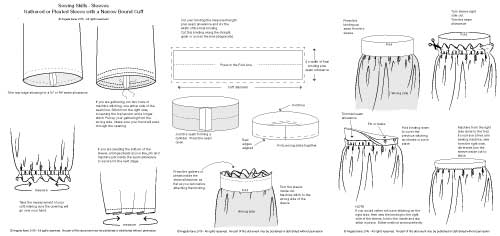
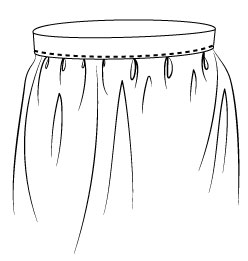
If you are gathering, run two rows of machine stitching, one either side of the seam line. Stitch from the right side, loosening the top tension and a longer stitch. Pull up your gathering from the wrong side. Make sure your hand will pass through the opening.
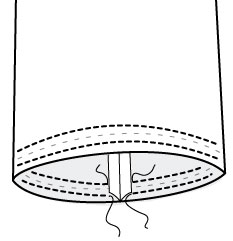
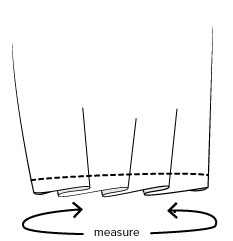
Take the measurement of your cuff, making sure the opening will go over your hand.
If you are pleating the bottom of the sleeve, arrange pleats as you like, pin and machine just inside the seam allowance to secure for the next stage.
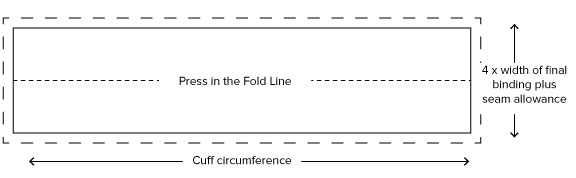
Cut your binding the measured length plus seam allowance and 4 x the width of the final binding. Cut this binding along the straight grain or across the bias (diagonally).
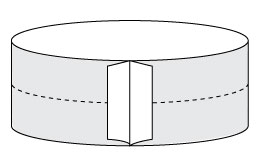
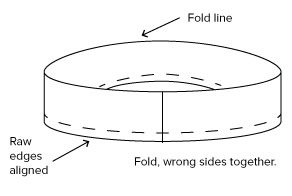
Join the seam forming a cylinder. Press the seam open.
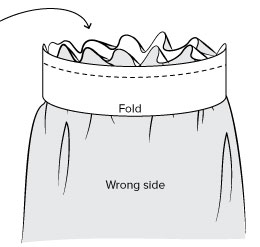
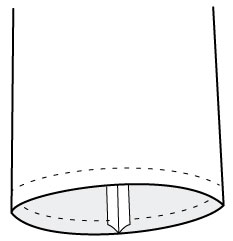
Press the gathers or pleats inside the seam allowance, as flat as you can before attaching the binding
Turn the sleeve inside out. Machine stitch to the wrong side of the sleeve
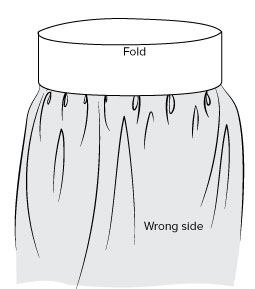
Press the binding up away from the sleeve
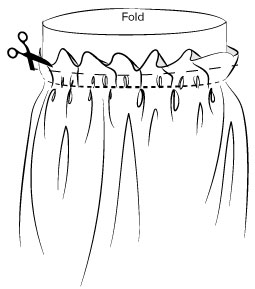
Turn sleeve right side out.
Trim the seam allowance
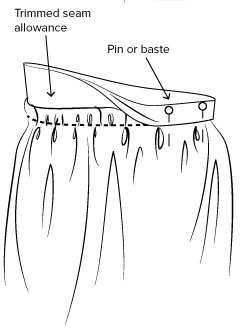
Fold binding down to cover the previous stitching and baste or pin in place
Machine from the right side close to the fold. If you have a free arm sewing machine, sew from the right side, otherwise turn the sleeve inside out to stitch.
NOTE If you would rather not have stitching on the right side, then sew the binding to the right side of the sleeve, fold to the inside and slip stitch in place. Either method works perfectly.